Indoor Golf Simulator for Home
For me a handful of years ago it was only an idea. That idea was to put a net in my garage so I could practice hitting golf shots. The reason being is that some of my friends were either in leagues or had a job (or no job) where they could play golf a couple or few times a week. So what I was finding over a couple year period was my friends were hitting longer drives, were better at approach shots, and their handicap was going down where mine was stagnant. Now with a Spornia net, that led me on the road to find an indoor golf simulator for home.
The net is fine to hit into but if you have no idea as to the distance you might be getting on each club then how do you know about consistency? If you hit a 3/4 approach shot that you believed to have gone 80 yards but in reality, your practice is sending it 60 yards every time, it won’t do you any good out on the golf course. I purchased a couple of products beforehand which I will most likely speak about in another post. The bottom line is I wanted to learn how to practice golf indoors so I could improve my golf game rather than spending the first couple of months of the new season trying to get back in form from the previous year.
Rapsodo R-Motion
These products include launch monitors and swing path analyzers but for now let’s talk about an indoor golf simulator for home use. My first purchase was the Rapsodo R-Motion golf simulator and swing analyzer. It is a unit that attaches to the golf club. It worked great and I still have the unit.
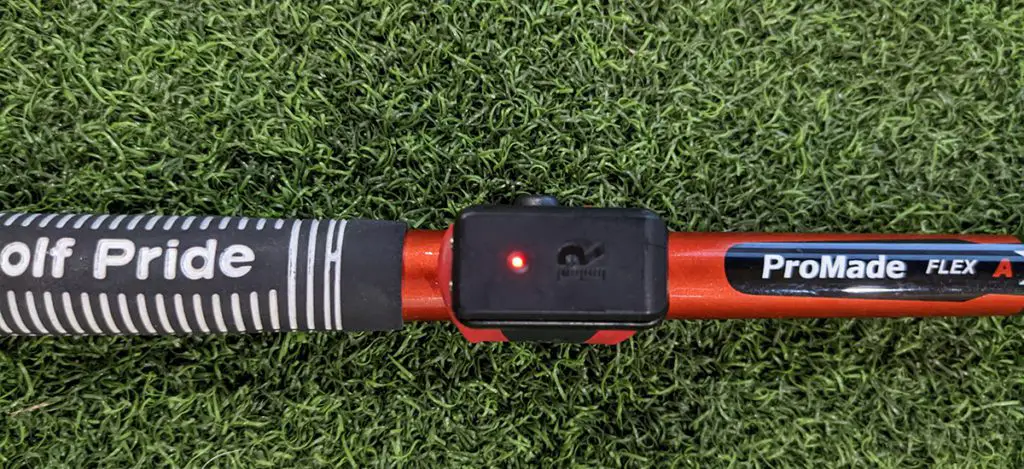
The issue with it is you have one sensor/transmitter that you have to interchange between golf clubs. Now you can buy a clip for each club you use so that takes away some of the pain. Still, it takes a few seconds to take the sensor off one club and put it on the next club you need to use. The other thing that happened from time to time is the sensor would fly out of one of the clips as you were swinging and either hit or go through the net. The fun part was then finding it.
You could play up to 15 courses with the option to purchase TGC (The Golf Club) which allowed for I am guessing thousand of courses were available with TGC. I did purchase TGC. You would also get distance, clubspeed, ballspeed, backspin, sidespin, club path, launch angle, and smash factor. Some factors were dependent on the numbers you put in for club length and loft. Otherwise I just set everything up using my laptop and it was easy to use. Although I enjoyed using the R-Motion, Rapsodo decided to discontinue support for the product.
Indoor Golf Simulator for Home No Longer Supported
After R-Motion no longer supported their product, I ran into an issue. Not with the company Rapsodo or the product I had at the time. Actually, partly with Rapsodo. They made mention that they would be updating their product to work with TGC2019. I used R-Motion for a couple of years and things were changing. It seemed more and more people in the indoor golf simulator for home use were using TGC2019 and moving away from the original TGC.
More courses were being built for TGC2019. If you wanted to find tournaments to join, they were dwindling with TGC and increasing on TGC2019. But something happened along the way. Rapsodo decided not to move forward and incorporate R-Motion with TGC2019. This left me and a number of R-Motion users kinda high and dry. Rather than whine and dwell on the subject I started to do some research. What it boiled down to was I needed to get a 2nd job to be able to afford another golf simulator and two choices looked to be up my alley.
Mevo+ and SkyTrak
What it comes down to is two great golf simulators. Almost like comparing and Apple and Android phones with folks fighting on both sides. There are some notable differences between the two units. Both come in at approximate $2,000. Thus the need for the 2nd job.
The Mevo+ uses dopplar radar technology to capture ball flight. SkyTrak uses photometric technology to capture ball flight. In the grand scheme of things you may think that is no big deal. As you look at data points and compare SkyTrak and Mevo+ they are very similar. So when you compare features it looks like a toss up. There is one big difference though and that is most likely in your golf cave setup.
Both units can be used outside but the nod according to some goes to Mevo+. If you are an Illinois resident like me then you will be using your indoor golf simulator for home umm err how do I say indoors.
SkyTrak will be setup to the side of the hitting area. As seen in the picture below about 10 inches to the side and maybe 8 inches in front.
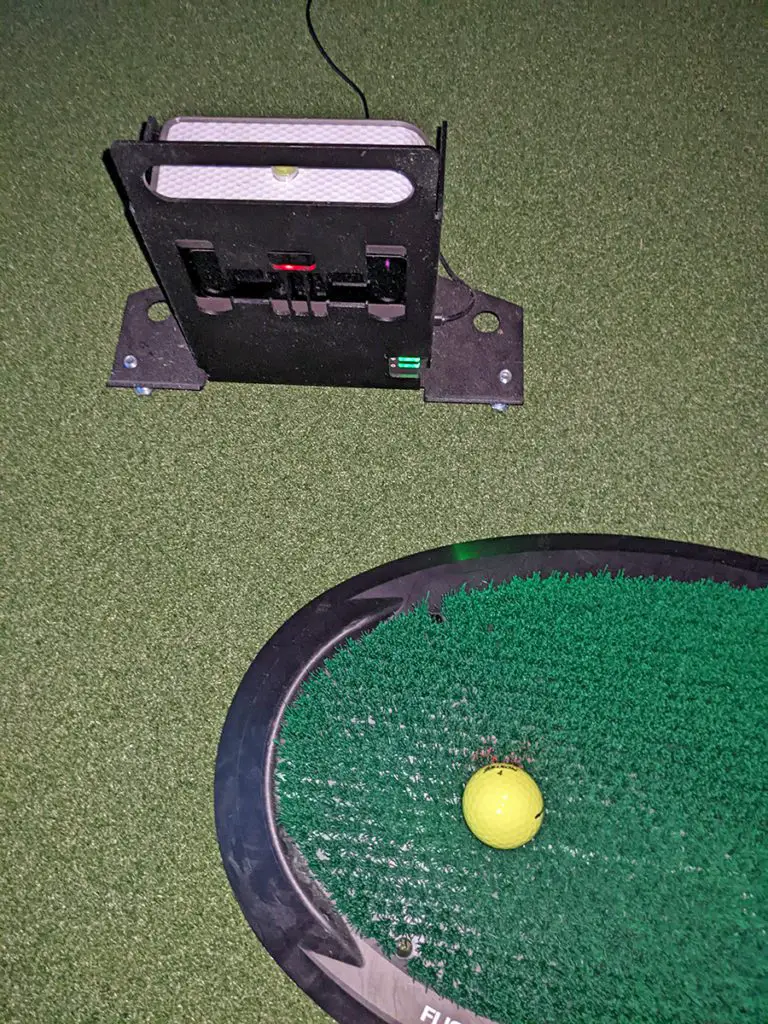
For indoor use, Mevo+ on the other hand needs about 7 to 9 feet of room behind the golfer as that is where the unit sits. Then you need anywhere between 8 to 13 feet in front of the golfer for ball flight. Now lets get back to SkyTrak for a second. SkyTrak takes 2 pictures of ball flight within milliseconds of each other. So unlike Mevo+ it doesn’t need the 8 to 13 feet in front of the golfer to follow ball flight. SkyTrak literally needs a couple of inches.
However where SkyTrak has had very little updates to its software, Mevo+ added Fusion Tracking Technology and a pro package with additional ball and club data. Of course that comes with an added cost. While I am jealous of these additional data points that Mevo+ now offers, I chose to purchase SkyTrak mainly because space requirements became a concern on my part.
Sidenote: GolfTec purchased SkyTrak so there is some hope there may be software updates coming in the future.
SkyTrak Indoor Golf Simulator for Home
When purchasing and using an indoor golf simulator for home, there are some considerations that need to be made.
- Golf Mat
- Projector
- Course Software
- Laptop or Desktop
- Enclosure with Impact Screen or Net
- Internet Access
Lets very quickly go through the above.
Golf Mat
You will most likely want a comfortable mat to stand on and a golf mat to hit off of. In some instances, they are one in the same. If I could make a quick recommendation of mats to hit off it would be Fiberbuilt Flight Deck, Country Club Elite (CCE), and GungHo Golf Holy Grail. I recommend these mats only because they receive very good reviews in so far as usage and keeping elbow and wrist pain down to a minimum. My recommendation is that the standing and hitting surfaces be the same height.
Projector
If you are using an impact screen you will want a projector. Otherwise if hitting into a net, a TV will work great or a laptop will suffice. Do you need a short throw or a regular projector? It all depends on distance to screen. Projector Central is a great place to research and you will find their throw calculator here. I made the mistake of purchasing a cheaper projector which did not have very good graphics. Now even though I wish I had 4K, I am happy with the projector I own which is the BenQ TH671ST.
Course Software
The type of software you will have available to you will depend on the golf simulator you purchase. I chose TGC2019 because of the sheer number of courses available for use with SkyTrak. Oftentimes you will find local courses which are available to play or for a price, someone may be willing to build your course.
Some folks like to use GSPro and I will admit the graphics can be stunning. The number of courses are increasing each and every week with GSPro and they have a nice community over on Discord. You may choose to forgo playing courses and either use the built-in or purchased software for practicing.
E6 Connect may be another option available to you. Have you ever wanted to play Pinehurst, Torrey Pines, or Bethpage Black? E6 courses are mapped with lidar technology which leads to great graphics.
There are other options that are kid-friendly like Creative Golf. Play fairytale golf, demolition golf, or mini golf along with practice, challenges, and 15 golf courses.
Laptop
Without a doubt you will need a beefed up laptop or a desktop computer, especially if you are going to be playing courses. By that I mean adequate RAM and a very nice video card. I did not go out and purchase a laptop based on the above but since I’m into photography and editing images, the laptop I currently have does the job. I use this same laptop for everyday use so it is not specific to my golf cave.
If you want a dedicated setup, my recommendation is to go the route of a desktop. Typically you would have more options for purchasing individual components if that is our choice. Building your own desktop is a great DIY and learning process if you have never done it before.
Enclosure with Impact Screen or Net
If you want to hit balls into a screen and watch the ball flight you will need an impact screen and a projector. Here is an example of an impact screen I built. Skytrak has an approximate 2 second delay between point of contact with the ball and when you will see the ball take off on the screen. Some get angry with that delay but I don’t mind. It allows you to better see the ball flight.
A DIY golf net can work perfectly fine if you hit the ball and then watch on a TV or the monitor on your laptop. Otherwise, with a Spornia net and before building the impact enclosure, a quick look over at the laptop display worked perfectly fine. If you are on a budget (and aren’t we all?) some of these DIY’s can save a few bucks.
Internet Access
Something I want to bring to your attention because I was clueless at the time. Do you have internet access in your garage or shed? Does it work well in your basement if that is the future home of your golf simulator? I found very quickly that I had zero mb/s in the golf cave. Some research and a 3 node mesh system later and I was getting about 50mb/s in the golf shed. There are positives and negatives about each mesh system but here is one I recommend.
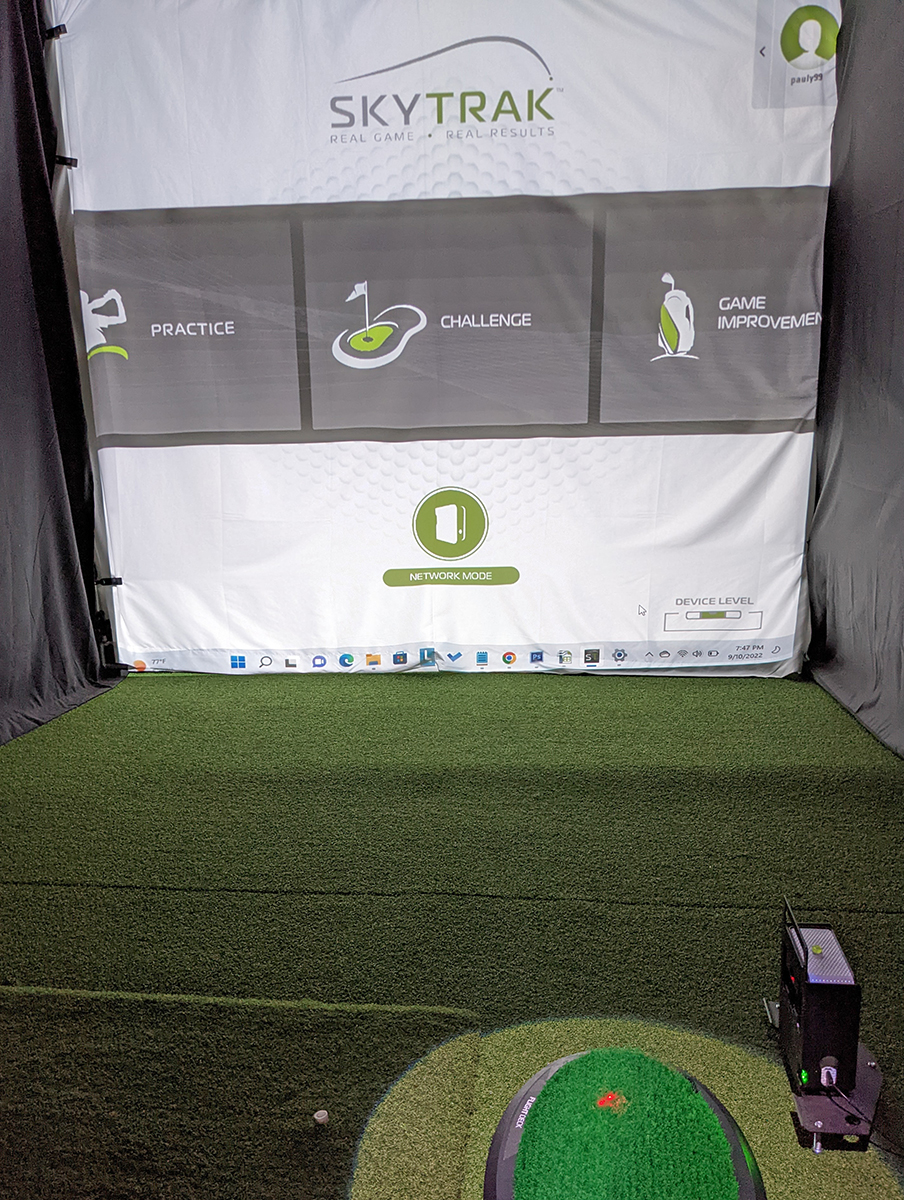
Here I am using in my golf cave using SkyTrak. I turned the lights off so you can see the impact screen a little better.
If I’ve given just a slight nudge towards finding an indoor simulator for home use, please be sure to check out some of the other offerings out there. I realize a $2,000 golf simulator and extra for the above mentioned items are not within everyone’s grasp. Check out the Optishot 2 or Garmin R10. For clubhead speed with a few extra add-on’s (no simulator) a great device is the PRGR Launch Monitor. It works well in swinging without a golf ball to see clubhead speed and also offers ball speed, carry distance or total distance and smash factor.
