Welcome to My Golf Cave
As my wife and I were looking at moving after 20 years in the same house, my one request was to be able to somehow have enough room to setup a simulator and play some indoor golf. Basically I was begging and pleading. I setup a net in our old house and made a DIY impact screen enclosure but the bottom line was the height in our garage did not allow for use of the longer clubs. Plus I hadn’t figured the height of the garage would be less than 8 feel tall. Thus the impact screen enclosure as I built it wouldn’t work. So without me knowing the name, I asked for a golf cave.
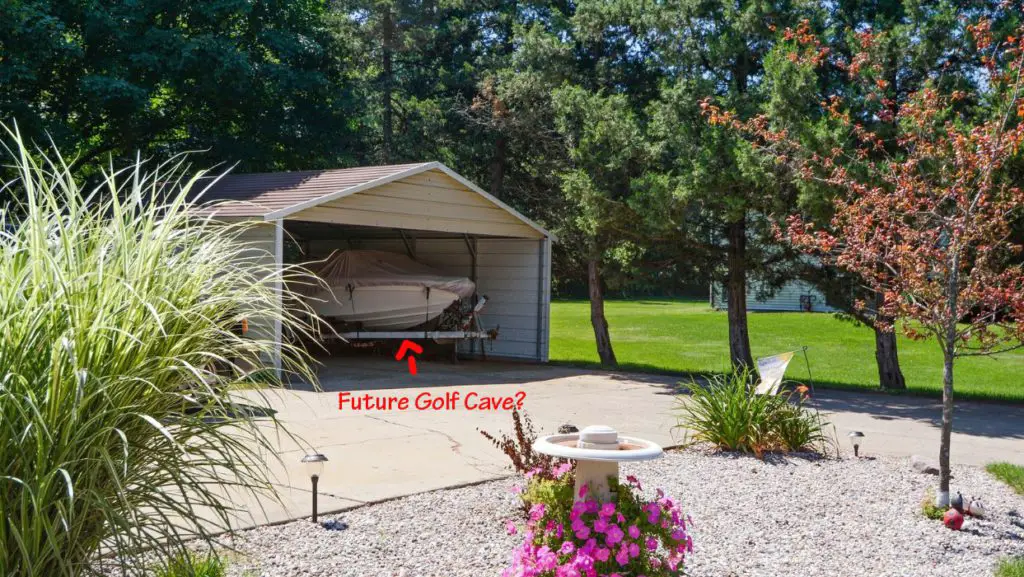
As we were looking at homes, I had it in mind that a nice shed if it were long enough could do the trick. With a fast moving housing market and the right realtor, we were able to see this home as a private listing. But something peculiar happened between the day that I looked at the pictures of the house and when we actually went to see the house. Just a little backstory.
The gentleman who lived in the house was sorta a Instagram star with 100,000+ followers. He has a small shed he would workout in. He was living the life I used to as a powerlifter, only he interviewed people and worked out with guys I used to read about some 25-30 years ago. Well that shed (not the one above) became too small so he put siding and garage doors on both sides of the carport above. He also brought in gas lines for heat and electric so he could workout.
The Golf Cave Is Mine
We put in our offer and it was accepted the same day. The way I felt about it, after about 60 days the new to us house is my wife’s and the golf cave is mine. Well not quite but I knew I had some work to do on both the house and shed. Over the next several month’s I couldn’t figure out whether to call it a shed, 19th hole, golf shed, golf cave, etc… My wife wanted to call it a she shed. Ummmm no. All I know is no matter what I wanted to call it, me, a man with no vision had to figure out either what he wanted his room to look like or work.
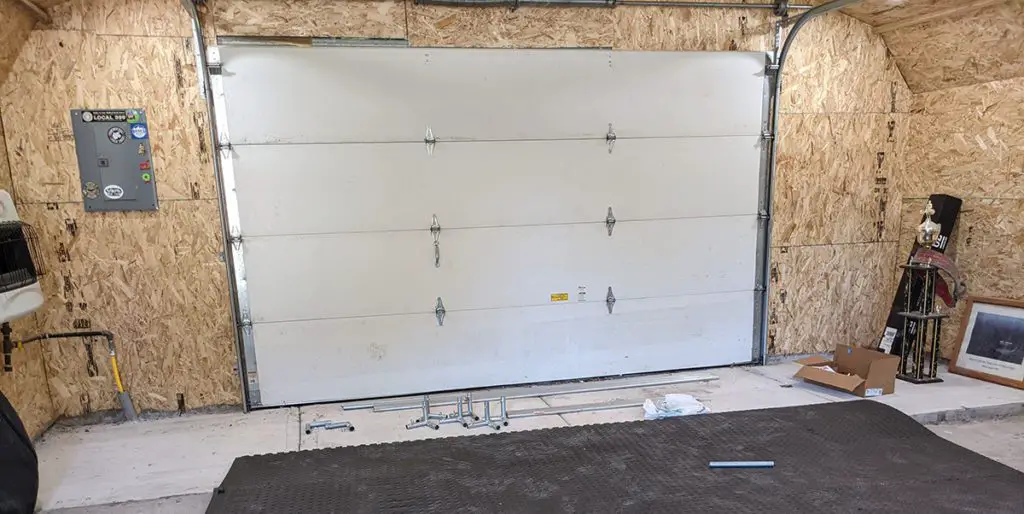
So what you see above is close to a blank slate. The garage against the back and if you look closely you will see some EMT pipe and elbows. I purchased the EMT from Menards in 12 foot lengths and the elbows from Yuma’s Bargain Warehouse. I’m thinking you can possibly purchase the latter from Amazon as well. The rubber mat 2 foot x 2 foot squares (although not enough) came from Walmart.
I had a bunch of work to do. I still had no plan with the exception of knowing I wanted to hit balls in my golf cave. The below picture is with the EMT pipes and elbows put together. The EMT pipes were cut to size with a simple tube cutter that I also picked up from Menards. I realize I could have gone winder and slightly taller with my build. At some point I may do that. For now it is 8′ tall by 8′ wide.
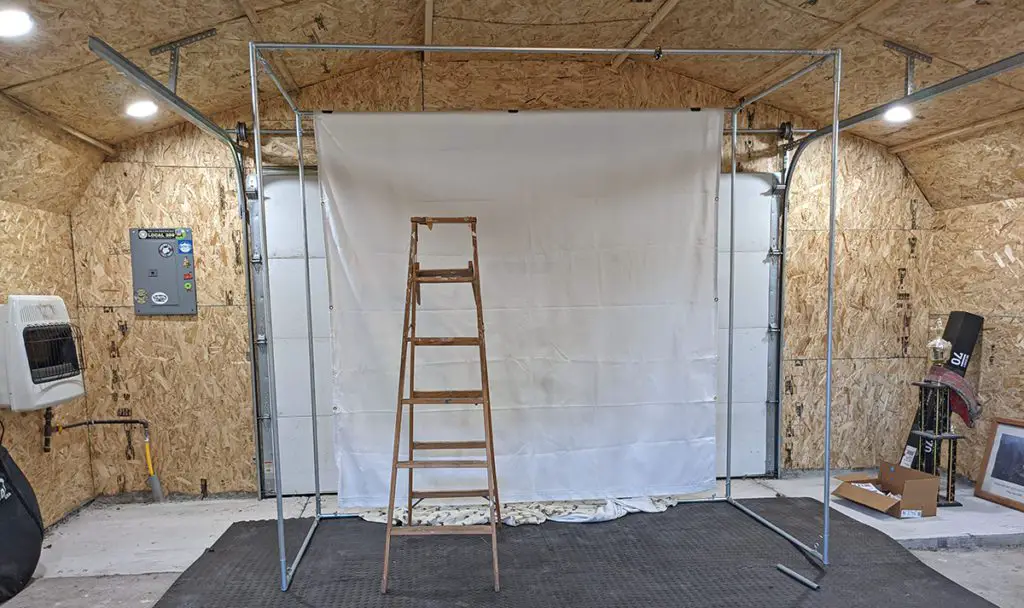
If you take a not so close look at the above picture you will see the concrete which was poured in the back of the shed by the previous owner is not exactly level with the concrete which was poured at an earlier time. Still, it doesn’t cause any swing issues for me. Off to the far left you will see the ventless gas heater. And this once carport has electric so that is a bonus in itself. With the picture below you can see the enclosure coming together. No, the fan wasn’t my doing but it had to go. Unfortunately it would be in line with my swing.
Continuing Assembly
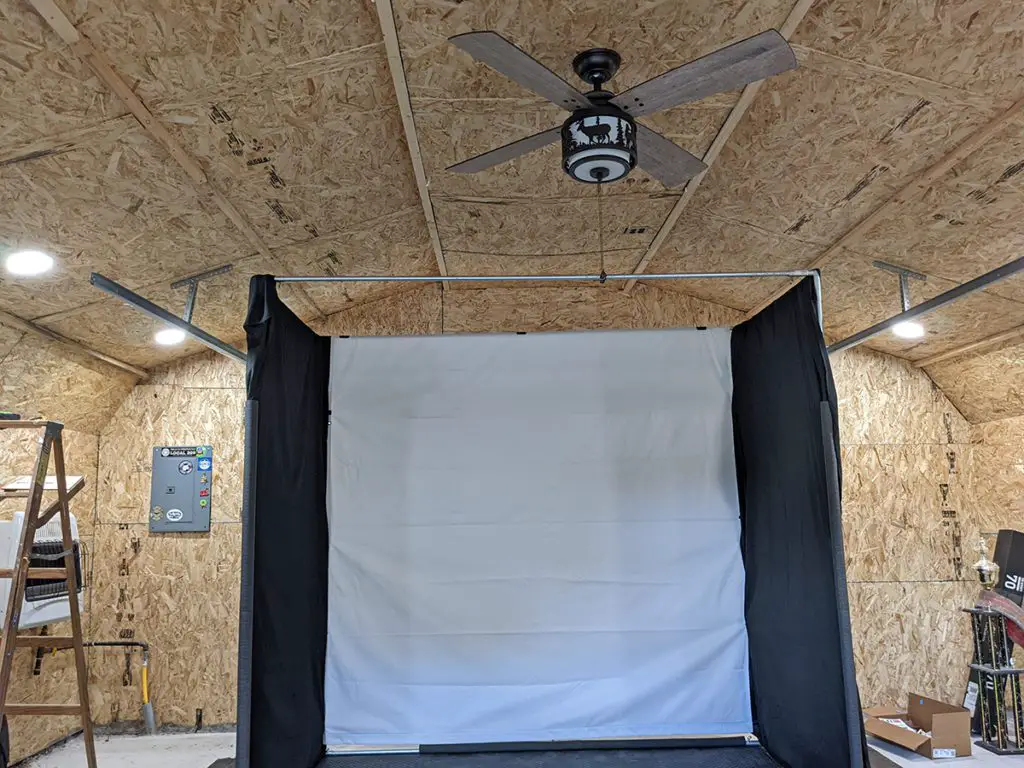
In the back is the impact screen and off to the side are what some call blackout curtains. What I purchased instead was black photography background material from Amazon. From memory the price was right at about $40 for a couple of 6′ x 9′ pieces. The EMT pipes are starting to be covered on the sides with what I call pool noodles but I think I bought them as a product which insulates plumbing pipes. Imagine you are hitting a golf ball and it hits a metal pipe. The golf ball will fly back at you so fast it would make your head spin.
So by putting the pool noodle spongy material over the pipes, it will definitely reduce bounce back issues. There is nothing like hitting a golf ball and before you’ve finished your follow through, a ball flies over your head and hits the garage door behind you. Ask me how I know. Now you know why I added pool noodles.
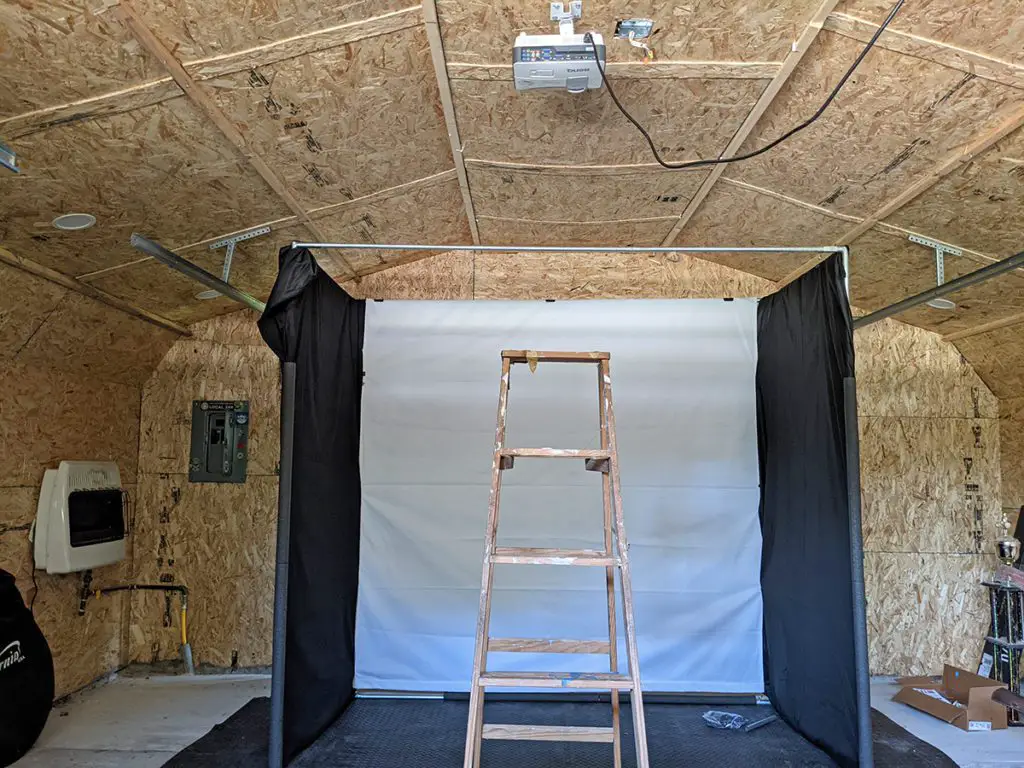
The fan has been removed and the projector added in the picture above. I’ll talk about projectors in a later post but this was not the last projector I installed in my golf cave. For those who are curious, it is a short throw projector. Sits about 9 feet away from the impact screen.
Almost Finished Golf Cave
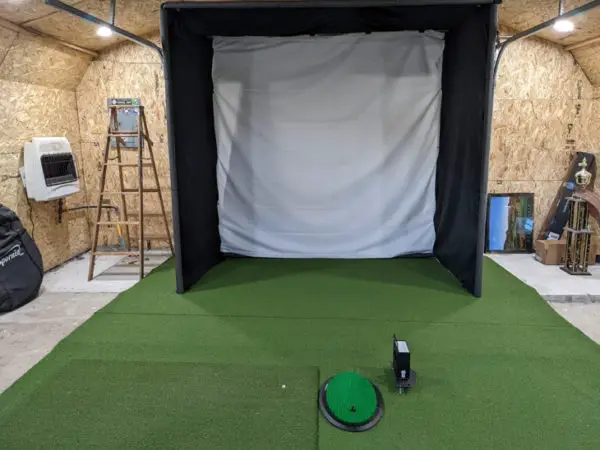
Above is close to the end result. That is in so far as the simulator is concerned. The impact screen still needs to be pulled tighter. There are some clips and little bungees which hold both the impact screen and the black side and top photography muslin material. If you pull them too tight the ball will sorta boomerang back to you. If you have it too loose, it looks lousy like it does above. At the bottom left you will notice a mat. I used to use that mat to hit off of but after hundreds upon hundreds of shots, it started to become a little painful to the joints. Mainly the wrist and elbows.
I now use that mat to stand on and hit off of what you see in the bottom middle of the picture. It is a Fiberbuilt Flight Deck. Some say the ball stands a little high and they don’t quite get the compression with the ball as compared to other mats. All I know is it took away my wrist and elbow pain. I will also say the Fiberbuilt Flight Deck has helped me determine which balls have high backspin and which one’s have very little backspin. The flight deck has a built in tee but sometimes I use a product called BirTee. If you are using an indoor simulator such as SkyTrak, I recommend using a darker color BurTee.
Both the mat and flight deck sit on what is called putting green artificial turf. I purchased this from Home Depot. For my use it was just under $300. So everything I’ve shown above is fine and dandy for hitting golf balls into an impact screen. But then what is the use of the projector and why wouldn’t I just hit balls into a net? Enter the SkyTrak Golf Launch Monitor. The little black box sitting next to the flight deck.
SkyTrak is Where the Magic Starts
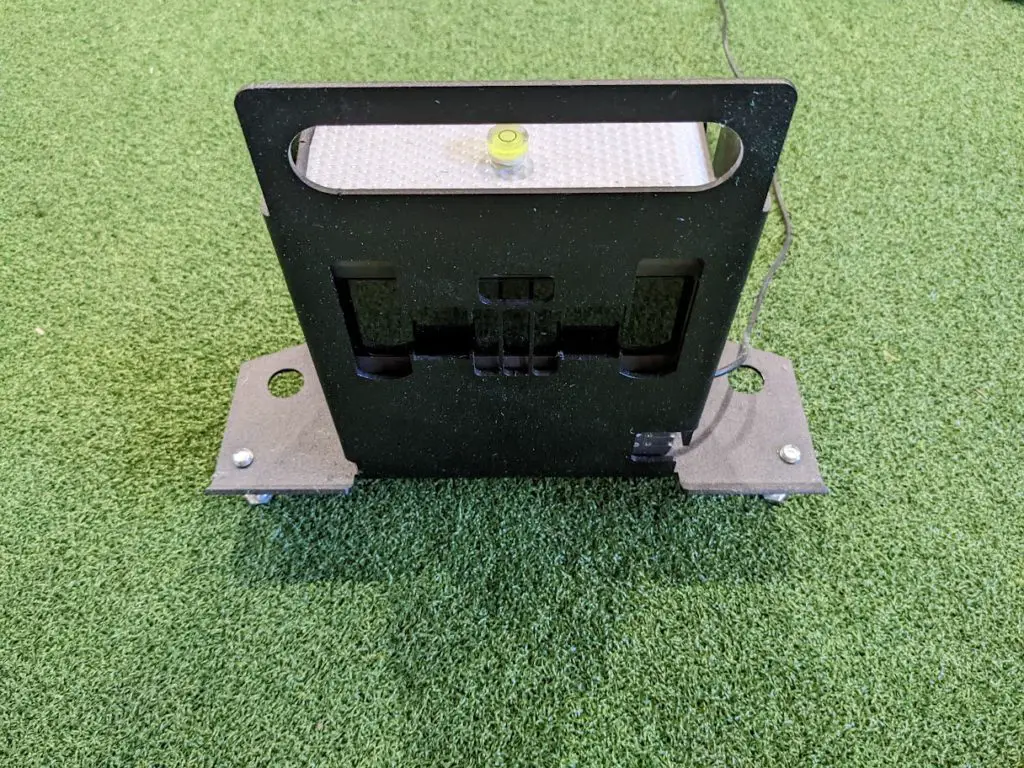
SkyTrak is a photo based personal launch monitor or what I call golf simulator. As an FYI, there are also radar based units. It allows you with its basic software to practice like you are at an outdoor driving range… except you are indoors. I purchased the Game Improvement plan from SkyTrak. I can do a long drive competition, closest to the pin, target practice, bag mapping (see how far you average with each club in your bag), wedge matrix, and see shot tracers. The data that is given is ball speed, carry distance and total distance, backspin, sidespin, launch angle, etc… Some of the club features are calculated but in combination with ball data, you have very accurate information. The accuracy is incredible and on par with launch monitors which are thousands of dollars more.
Because of the SkyTrak plan I purchased, I was also able to buy and use TGC2019 in my golf cave. TGC2019 is software which allows you to play over 100,000 different golf courses. For instance, I am able to play the golf course which closed next to me a year ago. I can play local courses that I sometimes play on the weekend. If I would like to play St. Andrews in Scotland or whatever course the PGA may be playing this upcoming weekend, that is most likely available too. With TGC2019 you can join tournaments and play against others or if you have a friend with a SkyTrak unit, you are able to play the same course and see each others shots. You can also invite your buddies over to play.
When initially setting up SkyTrak, I found it wasn’t going to work for me. What? Well I didn’t have internet in the golf cave and I would need a pretty decent signal to use the unit. I have great internet service in the house so after a bunch of research I found a mesh network would work well for me. Basically for me it is a node unit next to the router in my living room. Another node which is in the garage so it carries the signal further, and then finally a mesh node in the golf cave. So even though the shed may be 100 feet from the initial router that I have in the living room, I still get around 50mb/s in my shed.
Final Golf Cave Thoughts
I am considering my golf cave a continual work in progress. It seems you can always have nicer things. For instance a better projector, a better mat, and for me possibly at some point an upgraded golf simulator which allows for clubhead data. I’ve picked up a few posters and put them on the wall. I have a stand which holds my golf clubs and a separate stand which holds golf balls, shoes, my golf bag and other knick knacks. This poster reminds me of my dad. He used to work at the Empress Hotel.

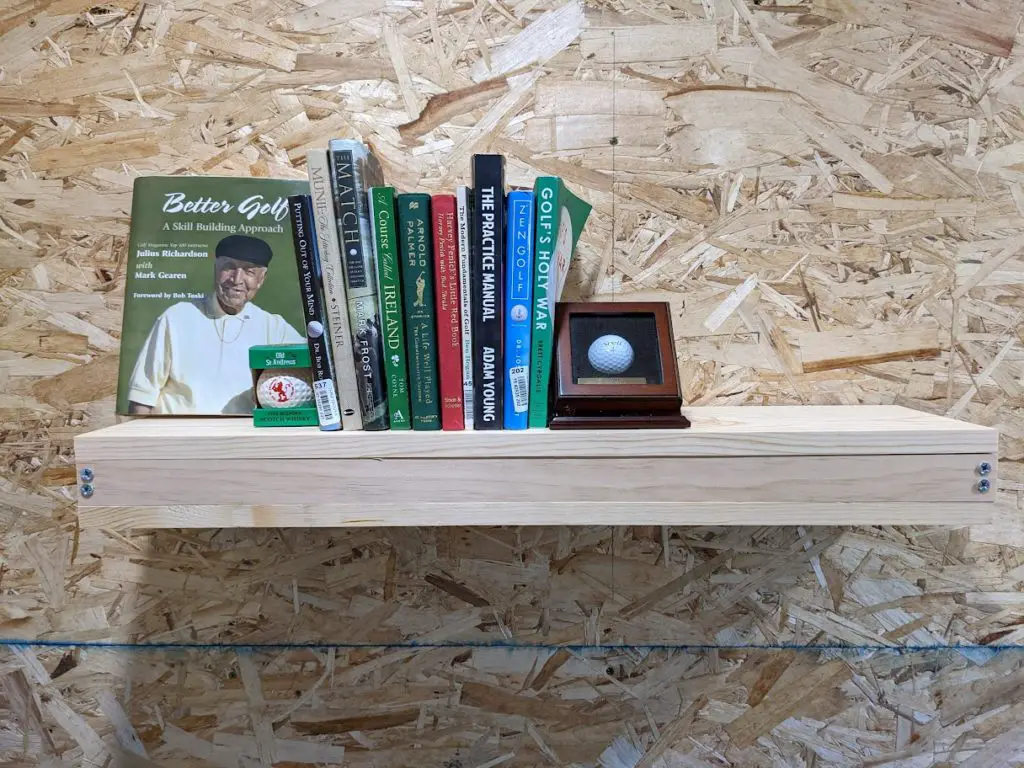
I have a Masters banner that I still need to hang as well as a dart board. I created a nice little bookshelf as a DIY project and show off some of my golf books. A search on Ebay and I will usually pick up a new book every couple of months. Oh, I did another DIY for Halloween with a Golf Pumpkin. Pretty proud of how that turned out. I’m starting to take pictures at local golf courses as I play and a few of those pics will make it on my walls fairly soon. I’m thinking of something like the pic further below.

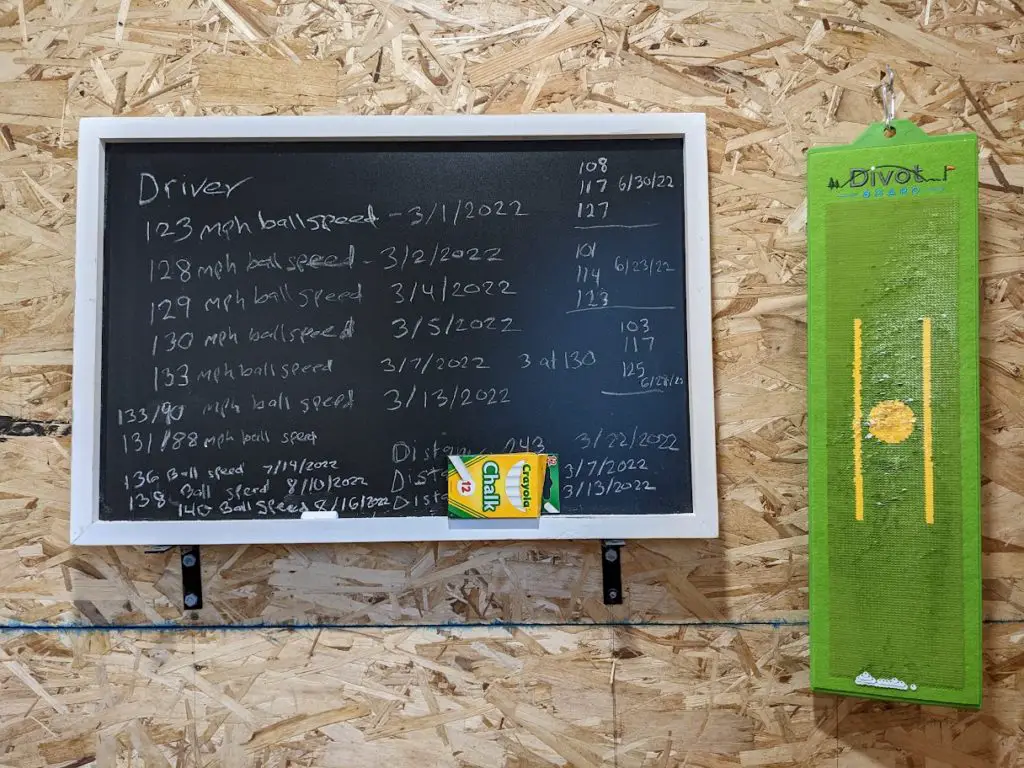
Here is a chalkboard where I keep track of driver ballspeed. To the right you see a Divot Board which shows where your club impacts when it hits the ground. Great to learn ball compression for us amateurs.
My wife says I should put a wine fridge in the golf cave. I won’t argue. All in all it has been a very fun project and the best part is either rain or shine or snow or cold, I can take a very short walk out of the house and be playing golf in a matter of minutes.
Are you considering a golf cave build? Have any questions whatsoever about products or pricing? Please let me know and I’ll be more than happy to put in my 2 cents.
